Wednesday, October 05, 2011

Nut Caramel Bars with Dried Cherries


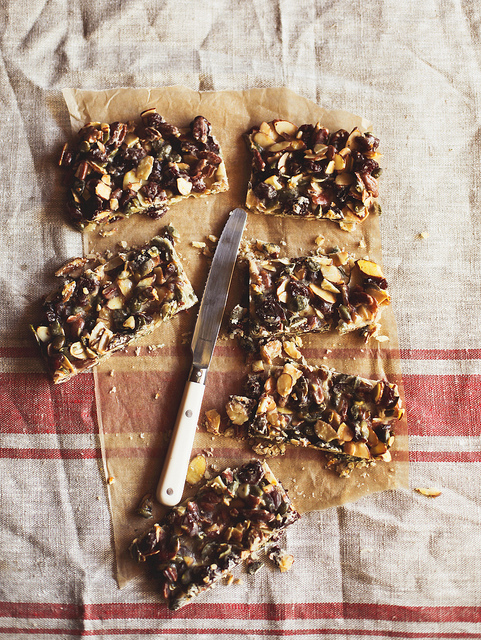
caramel nut bars with dried cherries

About a month ago, I was sent the cookbook Home Made by Yvette Van Boven  and I’m kinda in love with it. It’s a tome dedicated to all things homemade, and when I say tome, I’m not kidding - it’s over 400 pages, full recipes and instructions for everything from preserving fruits, to cheese making and even homemade liqueurs.
nut caramel bars with dried cherries

Not only is it full of great information, it’s also gorgeous. The photos feel so homey, and they’re accented by adorable drawings (Van Boven is also an illustrator), hand written recipes & paper cut outs. It even has a section dedicated to dog treats - it’s downright charming.

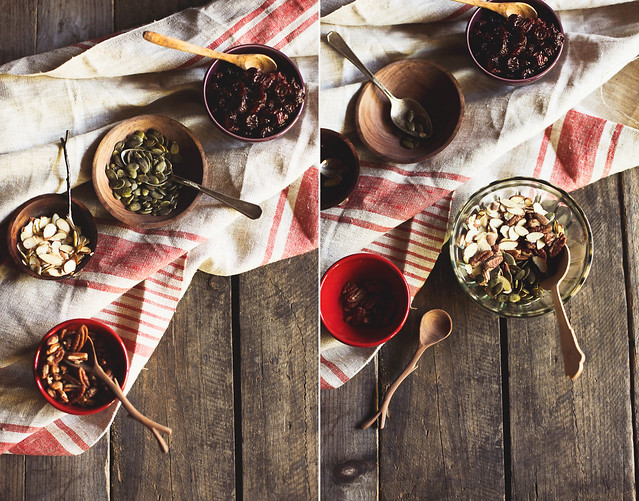
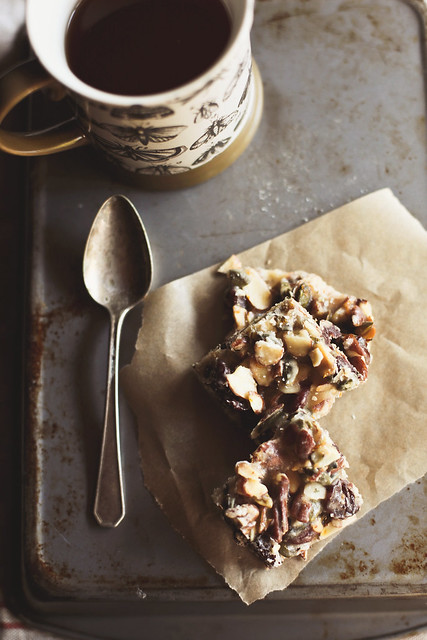
When I opened the book for the first time, this recipe was on the page I happened to open to - and the first one I wanted to make. These are crunchy, chewy bars filled with lots of my favorite things, almonds, pecans, pumpkin seeds, and dried fruit. The recipe calls for dried figs, but I couldn’t find any, so I used dried cherries instead.  They’re tasty, pretty simple, and I think they’d make a great gift for a friend.
IMG_4962 copy-2

Go get yourself a copy of Home Made! You won’t regret it. (And be on the look out for a recipe for sweet potato soup from the book on honey & jam soon! :)

Nut-Caramel Bars with Dried Figs
From Home Made by Yvette Van Boven

1 1/3 cups blanched almonds
1 1/3 cups walnuts or pecans
1 1/3 cups sunflower seeds, pumpkin seeds, pine nuts or a mixture of them all
7 oz dried figs (I used dried cherries)
juice & zest of 1/2 orange
sunflower oil for greasing purposes
1 1/3 cups superfine sugar
3 tablespoons maple syrup
1/2 stick butter
pinch of salt

Preheat the oven to 340F/Gas 4. Arrange the nuts over a sheet of parchment paper on a cookie sheet and bake for approx. 15 minutes until golden brown and crisp, turning halfway through. Transfer the nuts to a bowl and stir in the figs and orange zest. Line a shallow rectangular baking sheet with wax paper. Brush the wax paper with a thin layer of oil. Heat the sugar, syrup and orange juice in a heavy bottomed saucepan until the sugar has dissolved. Stir gently with a wooden spoon, but beware of splatters, since it will get very hot. Lastly, stir in the butter and salt. The sauce will become thicker. Fold in the nuts and stir well. Pour the mixture onto the greased paper and spread evenly. After approx. 15 minutes, score into bars with the back of a knife when it is nearly cool.
Leave to fully cool.
Break the slab along the score lines.
You can keep the bars for some time in a sealed box separated by sheets of wax paper.


ps, While I was sent a review copy of this book - I wasn’t asked or payed to write about it. All opinions are my own -  this is a fantastic book, I wouldn’t lie to you guys!

Friday, September 30, 2011

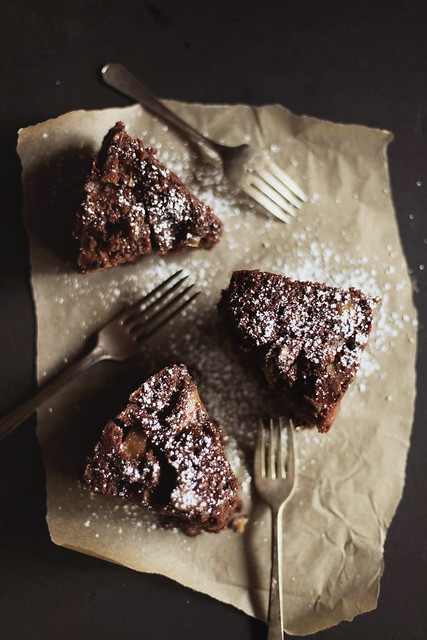
Pear & Almond Chocolate Cake with Cider Glaze


bartletts

A couple of days ago, I was driving down the road and I screeched. Loudly. I scared everyone riding with me, but I couldn’t help myself. There, right off the road was a tree, bright orange. It was surrounded by trees holding on to summer, their leaves still bright green. It was a beautiful sight, that firey hue on a backdrop of lively green.

pears2-2-2

As I hopped out of the car to take pictures, any lingering thoughts of summer were wiped from my mind. Autumn is here and I’m embracing it.

It’s not particularly hard for me to be enthusiastic about fall, it’s my very favorite season.  All year I long for these days of warm cups of tea, cheeks flushed from the cool wind, and cinnamon scented everything. I crave hearty root vegetable soups, bread fresh from the oven after a long summer of salads and lighter fare. Most of all, I love the baking. Apples, pears & pumpkins, hello!

111-2

This is the first thing I’ve baked since the season change, and it’s one of the best cakes I’ve ever had. 

About a year ago I tried an almond & pear chocolate bar and since then I’ve wanted to make something with that flavor combination. I added a touch of cardamom, because I love it with pear, and a cider glaze, because it just sounded good. There’s a lot going on here, but it works. It tastes like fall.

chocolate, pear & almond cake.

Pear & Almond Chocolate Cake with Cider Glaze

The glaze here isn't going to get very thick, but I like it that way. When you pour it over your cake, it will sink right in instead of laying on top like one thickened with lots of powdered sugar. It'll keep the cake very moist and extra tasty.

Ingredients
For the cake:
    1 cup boiling water
    1/2 cup natural unsweetened cocoa powder
    2 cups unbleached all purpose flour
    2 teaspoons baking powder
    2 teaspoons ground cardamom
    1 teaspoon salt
    2 cups (packed) brown sugar,
    1 cup vegetable oil
    1 tablespoon vanilla extract
2 large eggs
2 pears, diced
1/2 cup slivered almonds

For the glaze:
1 cup pear cider
3 tablespoons brown sugar
2 tablespoons butter
1/2 teaspoon cinnamon or cardamom

Preparation

    Preheat oven to 350°F. Generously brush 12- to 15-cup nonstick Bundt pan with oil. Whisk 1 cup boiling water, cocoa powder, in 2-cup glass measure. Whisk 2 cups flour, baking powder, cardamom, and salt in medium bowl. Using electric mixer, beat 2 cups brown sugar, 1 cup vegetable oil, and 1 tablespoon vanilla in large bowl to blend. Add eggs; beat to blend. Beat mixture until smooth, about 30 seconds longer. Beat in half of flour mixture, then cocoa mixture. Add remaining flour mixture; beat to blend. Fold pears & almonds. Transfer batter to prepared Bundt or angel food pan.


    Bake cake until tester inserted near center comes out clean, about 1 hour. Cool the cake 10 minutes. Invert cake onto rack; cool 15 minutes longer.

Meanwhile, stir together cider, brown sugar, butter & cinnamon in a small sauce pan. Bring to boil, continuing for 5 minutes. Remove from heat.

When cake is cool, pour over glaze & top with powdered sugar.

Tuesday, September 06, 2011

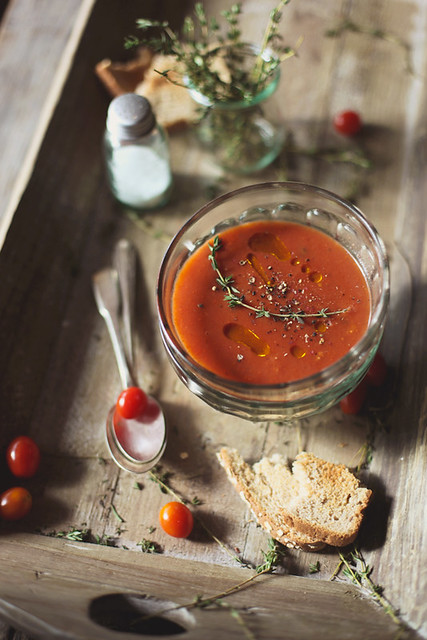
Roasted Tomato Soup

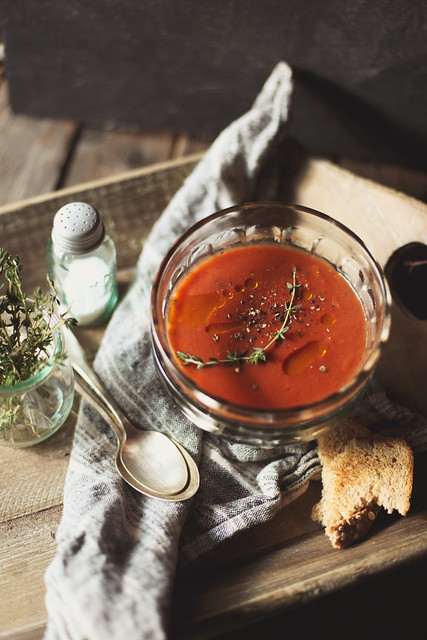
tomato soup!

It seems I’m a wee bit smitten with tomatoes. For years, I couldn’t stand them. I’d pick them out of salads, pull them off pizzas, avoid them at all costs. Then one day I gave them another try and I was totally in love. I’m still kind of picky - I don’t like really gushy ones, and I prefer them cooked, but lately I just can’t get enough.

IMG_8068 copy

My very favorite way to enjoy a tomato is through soup. I’ve liked tomato soup for ages - way before I liked tomatoes themselves. I’ve got a confession for you - I really love tomato soup from the can. As in, the red and white can. Oh yes, I eat way too much  canned soup in the fall and winter. I’d never attempted to make it myself because I wasn’t sure I could improve on that tin can goodness. Yes, I am a bit crazy. I did just say “tin can goodness”. To my credit, tomato soup and ice cream sandwiches are just about the only things I prefer store-bought.

IMG_8192 copy

When N.E.E.T. magazine asked me to contribute a “comfort food” recipe for their fall issue, the first thing I thought of was tomato soup. I was pretty certain they didn’t want a picture of canned soup though, so I finally gave homemade a chance. And guess what? It’s so much better than the other stuff. Totally surprising, right?! ;) I’m going to be making batches of this and freezing it so I can cut the sodium glut that is Campbell’s out of my diet!

123123 copy

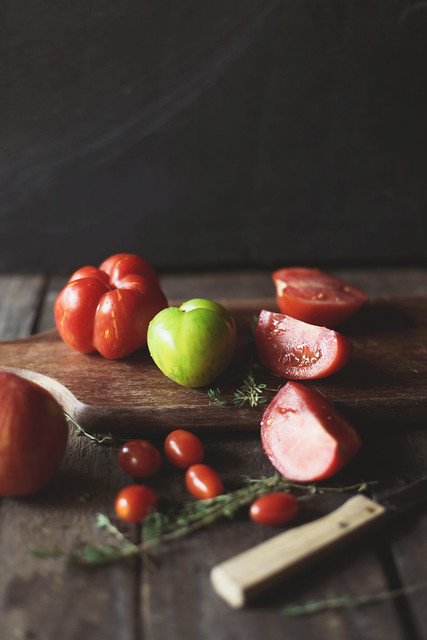
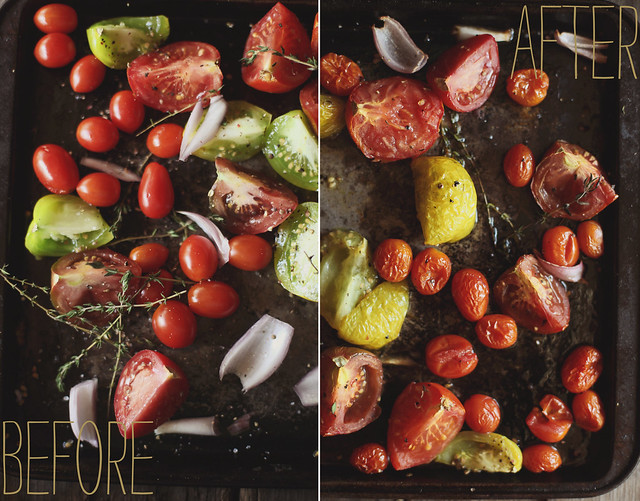
I kind of had no idea what I was doing with the recipe, I was just guessing but it came out terrific. I roasted the tomatoes with shallots and added thyme, because I’m on a tomatoes & thyme kick. But you could add any herb you’d like.

IMG_8531 copy-2

If you’d like to try it out (and trust me, you do), head on over to N.E.E.T. (A lot of people were having trouble accessing the recipe, so I've added it below.) The recipe is on page 140, but be sure to check out the rest of the issue. It features recipes from two of my favorite bloggers Julie from Always with Butter and Stephanie from Desserts for Breakfast. If you haven’t seen their blogs, go now! Both are outrageously beautiful.

Roasted Tomato Soup
Serve hot or cold

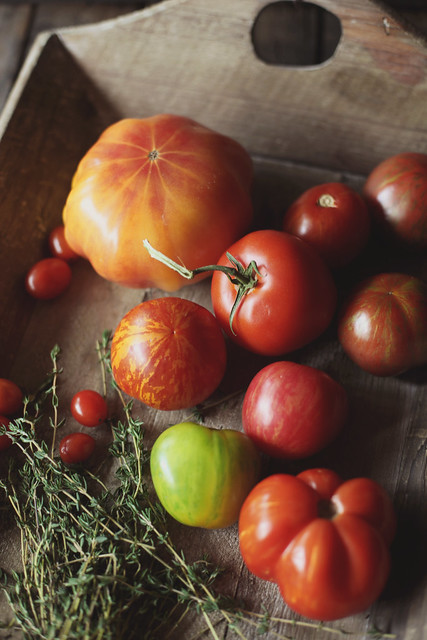
2 pounds fresh tomatoes, a mixture of your favorites
4 shallots, peeled and quartered
extra virgin olive oil
herbs, thyme, oregano, basil, whichever you prefer
salt & freshly ground pepper
2 cups chicken or vegetable stock
1/4 cup heavy cream

Preheat the oven to 400f. Cut tomatoes into quarters, (if you’re using cherry tomatoes, leave them whole). Spread the tomatoes and shallots on a baking sheet. Drizzle with olive oil and sprinkle with salt, pepper and herbs, gently toss. Roast for 30 minutes, or until tomatoes & shallots and brown and have caramelized.

Remove the pan from the oven and allow to cool slightly. Dump all of the pans contents into a food processor and blend until smooth. Slowly add in stock while blending. If you soup is too chunky for your liking, pour through a mesh sieve.

Pour contents into a large stock pot, add heavy cream and simmer for 15 to 20 minutes.

Garnish with pepper, herbs, and crusty bread, enjoy!

(P.S. The folks over at Terrain have recently launched a gorgeous new site design and they sent me a discount code just for you guys! If you enter "HONEYJAM" at checkout, you'll get 15% off. Hurrah!)

Tuesday, August 23, 2011

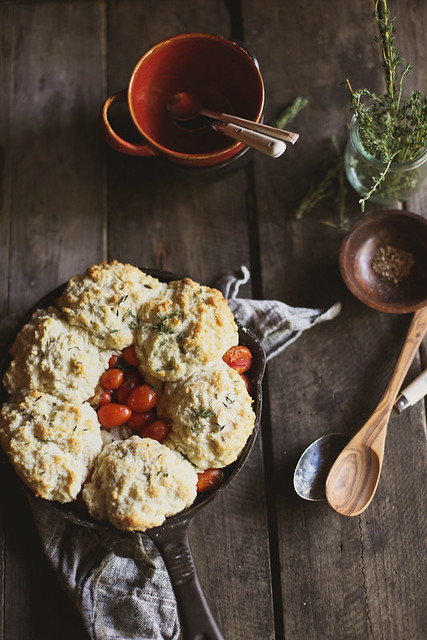
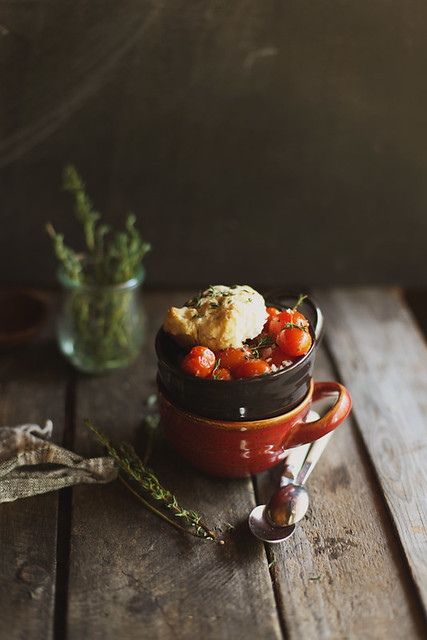
Tomato Cobbler

IMG_0240 copy-2

I can’t believe autumn is almost here. I’ve spent most of the summer busy as a bee, a little travel, a few exciting photo jobs, a new puppy, (who is currently snoozing at my feet as I type this) with little time to blog or bake.

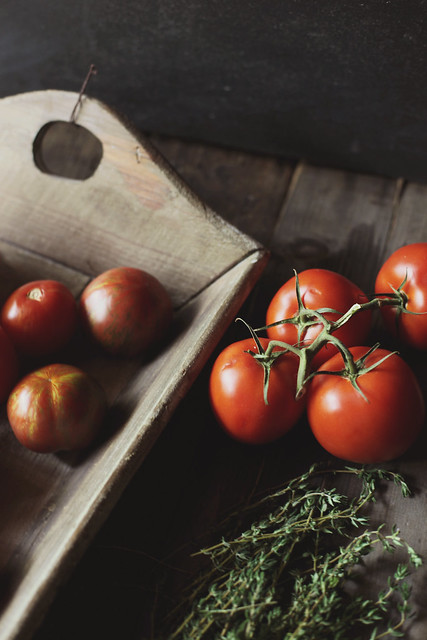
heirlooms & on the vine

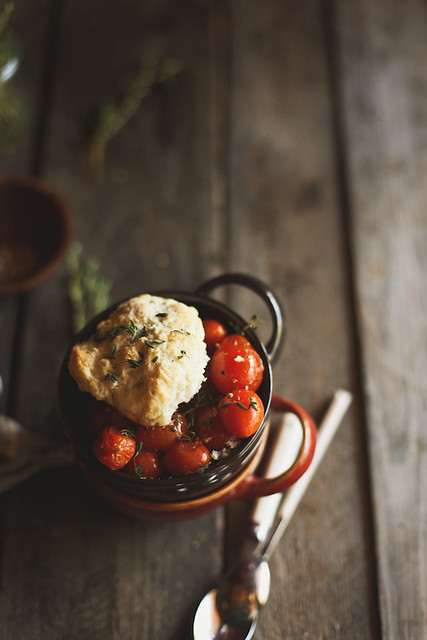
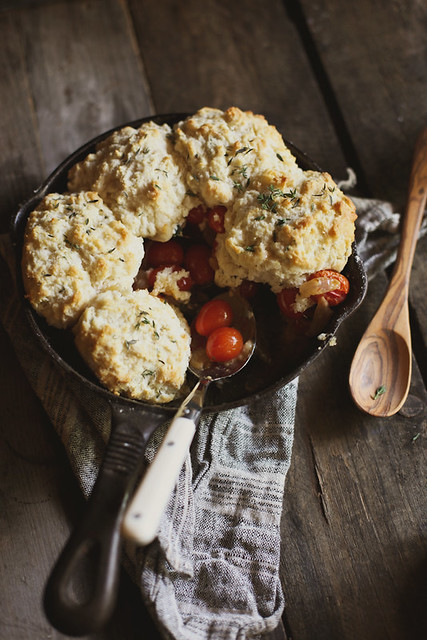
I had a few free hours this afternoon, and I spent them baking this tomato cobbler. It’s an idea I’ve had in my head for a while, a savory cobbler instead of sweet (not a very original idea, true, but new for me!), but I wasn’t sure which direction I wanted to go with it. Then I found this recipe from Martha Stewart. It was just what I was looking for.

IMG_0090 copy-1-2

IMG_0215 copy-1-2

This cobbler has it’s feet firmly planted in two seasons. It’s bursting with juicy, late summer tomatoes, but it has the feel of fall. It’s warm and filling, just the thing for when the evenings turn cool. It’s perfect for the in between. A transitional cobbler.

IMG_0129 copy-1-2

The original recipe uses a different biscuit recipe, and gruyere instead of thyme. I think gruyere AND thyme would be perfect, but I didn’t have any. If you try it out, let me know! Also, the thyme biscuits are perfect on their own. Just preheat your oven to 400, form into rounds, place on a baking sheet, and bake for 10-12 minutes.

Tomato Cobbler
Adapted from Martha Stewart
Serves 4

For the filling
extra virgin olive oil
1 large onion, thinly sliced
2 garlic cloves, thinly sliced
2 pounds grape tomatoes
3 tablespoons all-purpose flour
coarse salt and freshly ground pepper

For the biscuit topping
2 cups all purpose flour
1 tablespoon baking powder
1 tablespoon fresh thyme (plus more for garnish)
1/2 teaspoon salt
1/2 cup butter
3/4 cup heavy cream or buttermilk


Directions
Make the filling: Heat 3 tablespoons of oil in a large high-sided skillet over medium heat. Cook onions, stirring occasionally, until caramelized, about 25 minutes. Add garlic, and cook until fragrant, about 3 minutes. Let cool.

Toss onion mixture, tomatoes, flour, and red-pepper flakes with 1 teaspoon salt and some pepper.

Preheat oven to 375 degrees.

Make the biscuit topping: Whisk together flour, baking powder, thyme and salt in a bowl. Cut in butter with a pastry cutter or rub in with your fingers until small clumps form. Add cream, stirring with a fork to combine until dough forms. (Dough will be slightly sticky.)

Transfer tomato mixture to a 1 quart baking dish or medium cast iron pan. Spoon 5 clumps of biscuit dough over top in a circle, leaving center open. Brush dough with cream. Bake until tomatoes are bubbling in the center and biscuits are golden brown, about 45 minutes. Transfer to a wire rack. Let cool for 20 minutes.