Showing posts with label cheese. Show all posts

Tuesday, January 05, 2010

Spicy Cheese Crackers

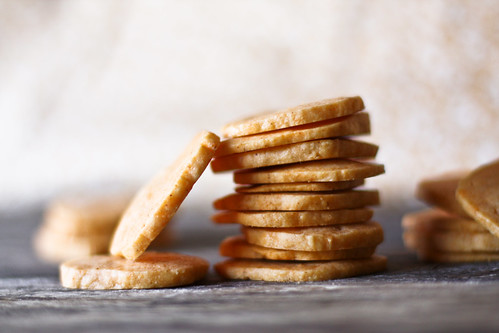
cheese crackers

These crackers are delicious. Really, really good. Buttery, spicy, cheesy and not a bit sweet. I’m a bit burned out on sugar, to be honest. After all those Christmas cookies and that amazing cobbler, I needed to change it up a bit.
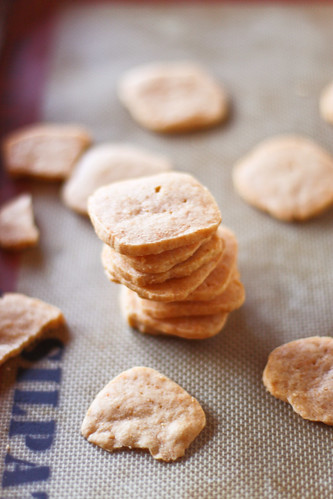
cheese crackers

I agree with Clotilde who said they are like cheese shortbread. Dry, crumbly, spicy shortbread. I’m sure you could make them look nicer than mine if you rolled the dough out and use a pretty cutter, but I hate rolling out dough, so I just made it into a log and cut slices.
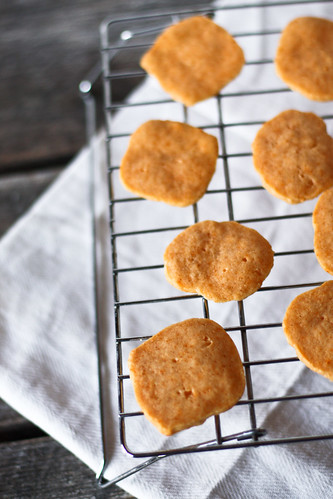
yummy cheese crackers

These practically no time at all, especially if you do it in the food processor. I think they’d be perfect with soup, maybe Chili. Try them out!
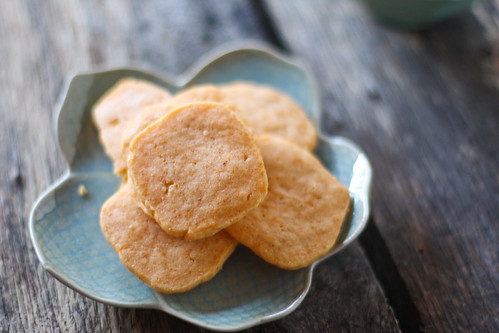
cheese crackers

Cheese Crackers

Adapted from here and here

1 1/2 cups (about 6 ounces) grated extra-sharp Cheddar cheese

4 tablespoons (1/2 stick or 2 ounces) unsalted butter, softened and cut into 4 pieces

3/4 cup flour, plus more for dusting

1/2 teaspoon kosher salt

1/4 teaspoon crushed red pepper
1/4 teaspoon paprika
1 tablespoon half-and-half (I used cream, because it’s what I had)

Preheat oven to 350°F.
In a food processor, combine the cheese, butter, flour, salt, paprika and red pepper in five 5-second pulses until the mixture resembles coarse crumbs. Add the half-and-half and process until the dough forms a ball, about 10 seconds. (you could also use a pastry blender and do it by hand)

Shape the dough into a log or whatever sliceable shape strikes your fancy, cover with plastic wrap, and refrigerate until firm enough to be easily sliced, about an hour, and up to a day. (You can speed things up by placing the dough in the freezer for 20 minutes instead.)
Preheat the oven to 350°F and line a baking sheet with parchment paper or a silicone baking mat.
Remove the dough from the fridge, slice it thinly and arrange the slices on the prepared sheet (they will expand a little, so give them just a bit of elbow room). You will need to work in batches; return the dough to the fridge between batches.

Bake for 10 to 14 minutes, depending on your oven and the thickness of your slices, until golden. Let the cheese thins rest on the baking sheet for a minute before transferring them to a cooling rack.

Monday, November 09, 2009

Cheddar Corn Muffins with Jalapeno Butter

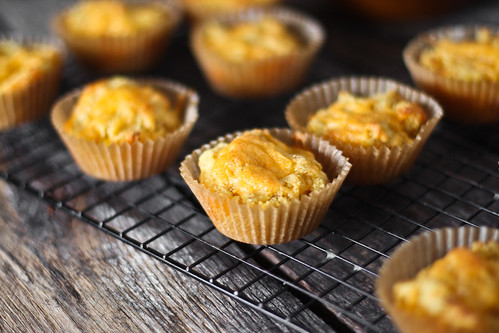
cheddar corn muffins

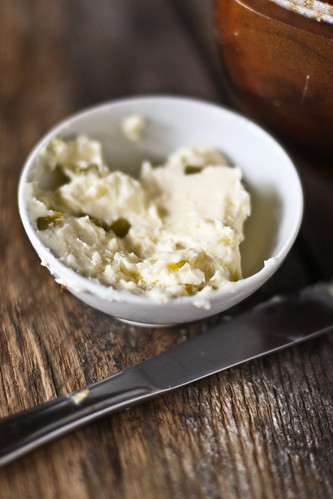
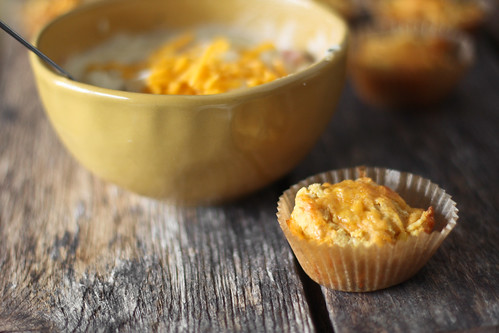
Today, I needed something easy to go with dinner. These were perfect. They come together quickly and are so, so good. Not at all dry, like cornbread can be, and the jalapeno butter is delicious.

jalapeno butter


cheddar corn muffins

Cheddar Corn Muffins with Jalapeno Butter
from Gourmet

For muffins:
5 tablespoons unsalted butter, melted and cooled, plus 1 tablespoon, softened, for brushing muffin cups
2 cups cornmeal (preferably stone-ground)
1 teaspoon salt
1 teaspoon baking powder
1/2 teaspoon baking soda
3/4 cup corn, thawed if frozen
1 1/4 cups well-shaken buttermilk (not powdered)
1 large egg
1 3/4 cups grated sharp Cheddar (5 1/4 ounces), divided

For jalapeño butter:
1 stick unsalted butter, softened
1 fresh jalapeño, finely chopped, including seeds

Equipment: a muffin pan with 12 (1/2-cup) muffin cups

Make corn muffins:
Preheat oven to 425°F with rack in middle. Brush muffin cups with softened butter.
Whisk together cornmeal, salt, baking powder, and baking soda in a large bowl.
Whisk together corn, buttermilk, egg, and melted butter in another bowl, then stir into flour mixture until just combined. Stir in 1 1/2 cups cheese.
Divide batter among muffin cups and sprinkle with remaining 1/4 cup cheese. Bake until puffed and golden-brown and a wooden pick inserted into center of a muffin comes out clean, about 20 minutes. Turn out onto a rack to cool. Serve warm or at room temperature.

Make jalapeño butter while muffins bake:
Stir together butter, jalapeño, and 1/4 teaspoon salt. Serve with muffins.

note: mine only took about 15 minutes, so watch them!

Thursday, July 02, 2009

Biscotti part one: the savory

biscotti

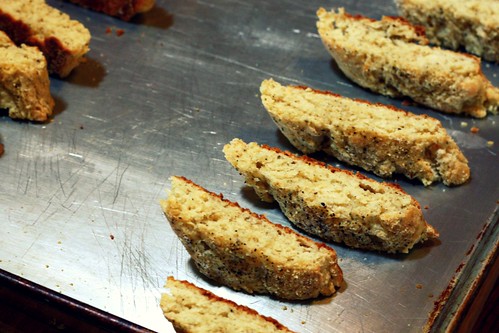
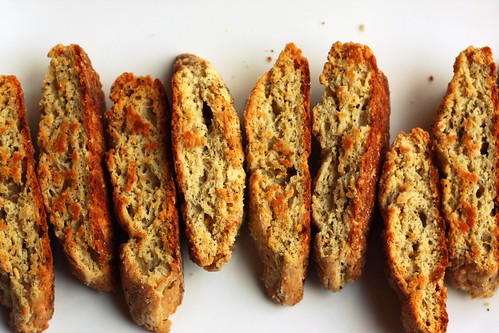
Although I much prefer baking to cooking, I’d take a cheeseburger over a piece of cake any day. It’s true. I much prefer savory foods to sweet ones. Don’t get me wrong - I love a good piece of pie, but I can never eat more than just a piece. I don’t like that much sugar.

biscotti

But I love baking. I love measuring things out, following a recipe, all the method that goes into it. Which is weird, because I’m not a very methodical person.

So I always love when I find a recipe for savory baking. They are hard to find, outside of bread making. When I can across this recipe for Parmesan Black Pepper Biscotti, I had to make it. I knew I’d love it.

biscotti

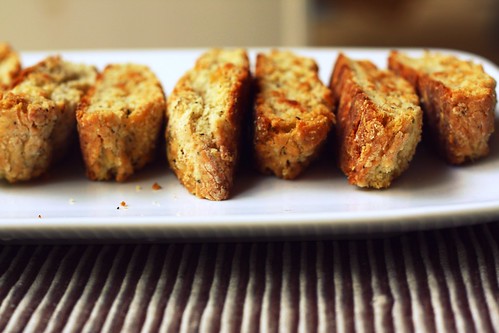
This smells absolutely amazing while it’s baking. My mouth was watering. It’s almost like smelling pizza baking. When it came out of the oven the first time, I could help by the taste it. Delicious, it would be perfect to go along with a salad. Then it went in for a second time and came out even better. The crunchiness really works for the flavors.

You should make these tonight, they’d be perfect with dinner!

biscotti

Parmesan Black Pepper Biscotti
From Epicurious

1 1/2 tablespoons whole black peppercorns
4 cups all-purpose flour plus additional for dusting
2 teaspoons baking powder
2 teaspoons salt
4 1/2 ounces Parmigiano-Reggiano, finely grated (2 1/4 cups)
1 1/2 sticks (3/4 cup) cold unsalted butter, cut into 1/2-inch cubes
4 large eggs
1 cup whole milk


Put oven racks in upper and lower thirds of oven and preheat oven to 350°F.

Pulse peppercorns in grinder until coarsely ground. (or just buy a peppercorn grinder at the grocery store.)

Whisk together flour, baking powder, salt, 2 cups cheese, and 1 tablespoon ground black pepper in a large bowl. Blend in butter with a pastry blender or your fingertips until mixture resembles coarse meal. Whisk 3 eggs with milk and add to flour mixture, stirring with a fork until a soft dough forms.

Turn dough out onto a lightly floured surface and quarter dough. Using well-floured hands, form each piece into a slightly flattened 12-inch-long log (about 2 inches wide and 3/4 inch high). Transfer logs to 2 ungreased large baking sheets, arranging logs about 3 inches apart.

Whisk remaining egg and brush some over logs, then sprinkle tops of logs evenly with remaining 1/4 cup cheese and 1/2 tablespoon ground pepper. Bake, rotating sheets 180 degrees and switching position of sheets halfway through baking, until logs are pale golden and firm, about 30 minutes total. Cool logs to warm on sheets on a rack, about 10 minutes.

Reduce oven temperature to 300°F.

Carefully transfer 1 warm log to a cutting board and cut diagonally into 1/2-inch-thick slices with a serrated knife. Arrange slices, cut sides down, in 1 layer on a baking sheet. Repeat with remaining logs, transferring slices to sheets. Bake, turning over once, until golden and crisp, 35 to 45 minutes total. Cool biscotti on baking sheets on racks, about 15 minutes.

Tuesday, May 19, 2009

Homemade Pizza Crust

pizza crust

My grocery store stopped selling pizza crusts. Just stopped carrying them, no warning at all. I guess I should first explain I live in a very small town. I’m guessing the the demand for pre-baked pizza crusts just wasn’t that high.

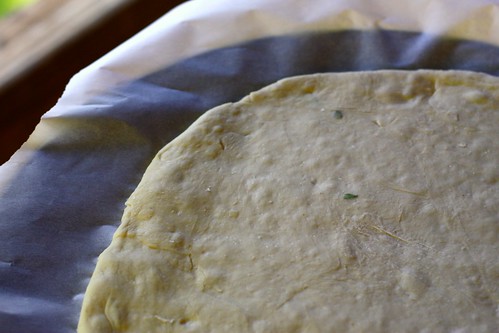
pizza dough
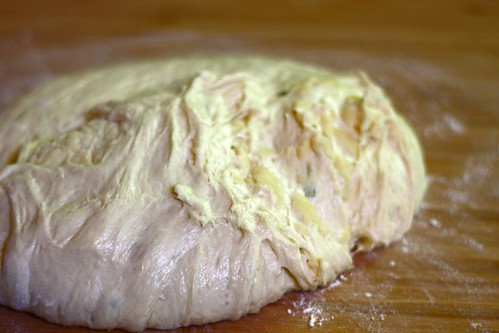
the dough.

But I really loved them. So easy! Just top them with whatever toppings you want and stick them in the oven.

I’ve always kind of been scared of making my own pizza crust, it seemed too hard, like it was something that should be left to the masters.

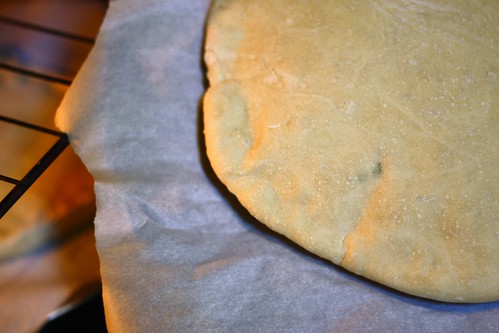
pizza dough
after rolling it out.

But I really wanted pizza. So I decided to go ahead and try to make it, figuring I’d fail. (by the way, that’s why the pictures in this post are so bad, I never thought it would work, so I didn’t put any effort into it! hahaha)

I found this recipe in King Arthur Flour’s Bakers Catalouge. It seemed simple enough, so I got to work.

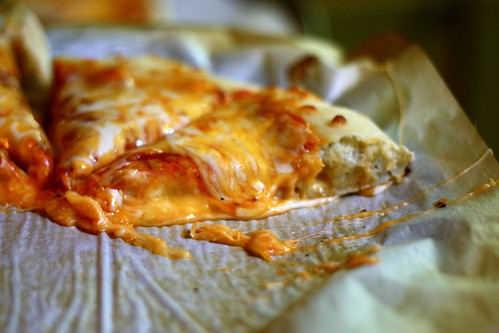
pizza dough
out of the oven the first time.

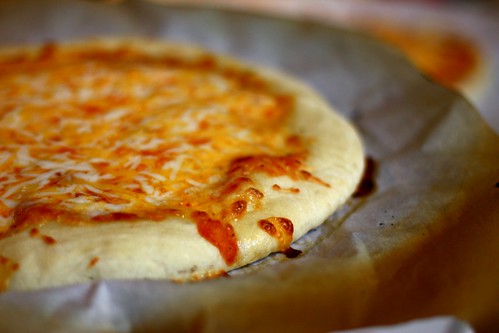
I was so surprised at how good it was! It actually tasted like pizza crust, not something vaguely resembling pizza crust. This will totally be my go-to recipe when I want pizza now. I’m so glad I tried.

pizza

Pizza Crust
adapted from King Arthur Flour’s Bakers Catalogue
3 3/4 cups of High-Gluten flour (I just used bread flour)
1 tablespoon pizza dough flavor (I didn’t have this, so I used a tbsp. of garlic powder and some fresh basil)
1 teaspoon instant yeast
1 1/4 teaspoon salt
2 tablespoons olive oil
1 1/2 cups lukewarm water

Mix and knead together all of the ingredients - by hand, mixer or bread machine (I just used the dough hook on my kitchen aid) till you’ve created a smooth, soft dough.

Allow the dough to rise, covered, for 1 hour.

Divide the dough in half. Shape both pieces into a 10” to 14” circle or rectangle and place each on a piece of parchment paper or on a greased pan. Allow to rise for 30 minutes or so, covered, while preheating the oven to 475.

Bake the crust for 8 minutes, until set, before topping with sauce and cheese; then bake for an additional 4 minutes.

Friday, May 01, 2009

Zucchini Cheddar Bread


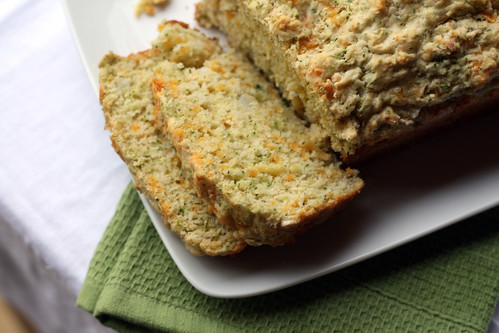
zucchini bread

I remember the last time I had zucchini bread. I was about 11. I remember putting it in my mouth and instantly spitting it out. I thought it was the worst thing I’d ever tasted.

zucchini bread

But tastes change is 8 years, right? So when Charity of Sweet Charity Pie sent me this recipe, I figured it was time to try it again.

zucchini bread

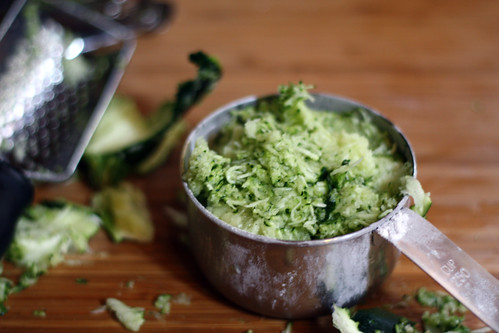
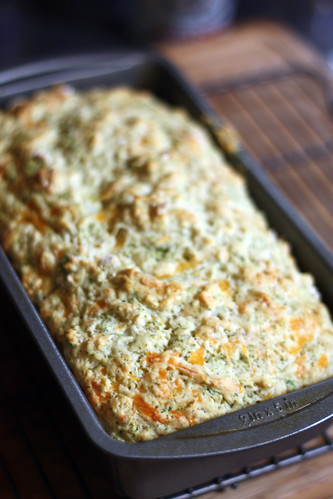
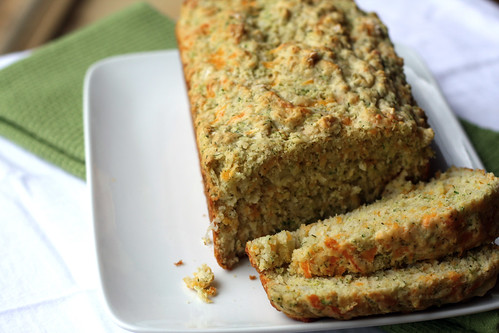
The zucchini bread I had was sweet, I’m not sure what was in it, but it was nothing like this. This bread is savory and delicious. I substituted onions for the scallions and left out the parsley, and it came out wonderfully. Plus, it’s totally gorgeous, the green and the orange.

I will definitely be having zucchini bread again. Thanks for making me a believer, Charity! Be sure to go to her blog, she should have a post on this bread up today.

zucchini bread

Zucchini Cheddar Bread

10-12 servings.

Position a rack in the center of the oven. Preheat the oven to 350 F. Grease a 9 x 5-inch (8-cup) loaf pan.

Whisk together in a large bowl:

3 cups all-purpose flour

4 teaspoons baking powder

1 teaspoon salt

1/2 teaspoon baking soda

Add and toss to separate and coat with flour:

1 cup coarsely shredded zucchini

3/4 cup shredded sharp Cheddar cheese

1/4 cup chopped scallions (or white onion)

3 tablespoons chopped fresh parsley

1 tablespoon snipped fresh dill, or 2 teaspoons dried

Whisk together in another bowl:

2 large eggs

1 cup buttermilk

4 tablespoons (1/2 stick) warm melted unsalted butter or vegetable oil

Add to the flour mixture and mix with a few light strokes just until the dry ingredients are moistened. Do not overmix; the batter should not be smooth. Bake until a toothpick inserted in the center comes out clean, 55 to 60 minutes. Let cool in the pan on a rack for 5 to 10 minutes before unmolding to cool completely on the rack.

P.S. No buttermilk? Add a touch of vinegar to 1 cup of milk. That’s what I did and it worked perfectly.

Thursday, April 23, 2009

flourless peanut butter cookies and parmesan pull apart rolls

today

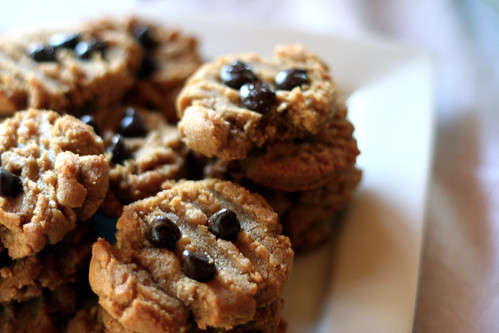
Today has been a long day. Or at least it’s felt like it. I got up early this morning, watered all of the plants, whose numbers seem to grow everyday. Then I quickly got to work on these cookies. Yet another Joy the Baker recipe that I absolutely love.

peanutbutter cookies

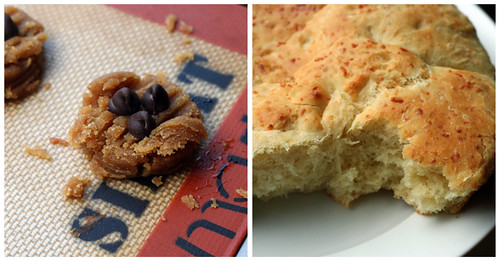
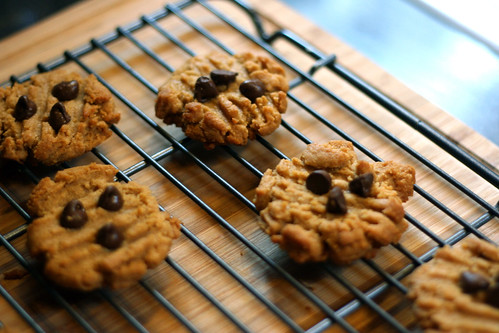
I don’t how anything with only 4 ingredients can be so delicious. They are nice and crisp on the outside and gooey on the inside. I’m thinking these will probably become a staple for me. And start to finish, they only take about 15 minutes!

IMG_5446

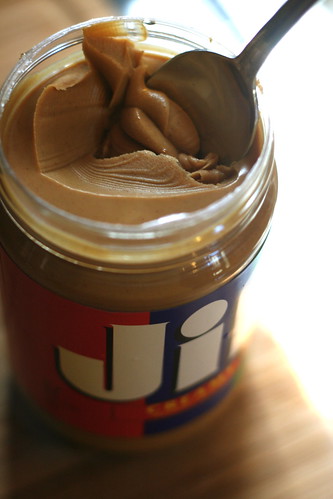
The recipe recommends using all-natural peanut butter, but all I had was Jif. At about 9 minutes in I checked on them and they weren’t holding together at all, I thought I was just going to have a bunch of blobs of hot peanut butter. I was cursing poor Jif’s name, sure that I should have run out and got some expensive brand. But after about 12 minutes, they were perfect. And oh so tasty.

parmesan bread

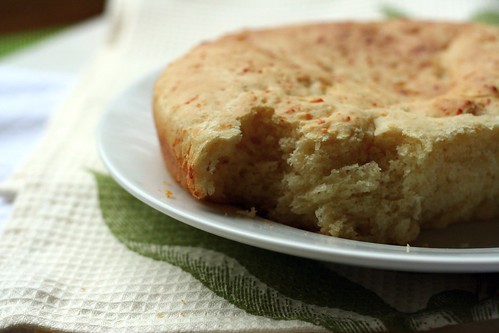
As soon as those were out of the oven, I started these parmesan pull apart rolls. I’m determined to work with yeast as much as I can, and it’s going really well. These were AMAZING. Soft and light, with a strong parmesan taste. It’s perfect, expect that I couldn’t get them into roll shape. The dough is super sticky and after 3 tries, I just gave up and threw all the dough in the cake pan. It came out great, although I think I’m going to have to rename them parmesan rip apart rolls.


peanutbutter cookie

Flourless Peanut Butter Cookies
From The Gourmet Cookbook via Joy the Baker


1 cup all-natural chunky or smooth peanut butter

1 cup sugar (1/2 cup brown sugar and 1/2 cup granulated sugar)

1 egg

1 teaspoon baking soda

Preheat oven to 350 degrees F. Grease a baking sheet with butter and set aside. In a mixer combine peanut butter and sugars until well combined, about 2 minutes. Add egg and baking soda and mix for another 2 minutes. Roll into walnut sized balls and create a cris-cross pattern with a fork. If you’d like, add a few chocolate pieces to the top of the cookies. Bake for 10 minutes, until lightly browned. Cool on a baking sheet for two minutes, then transfer to… your mouth.


Parmesan Pull Apart Rolls
From Gourmet Magazine via Picky Cook

2 teaspoons active dry yeast (from a 1/4-oz package)
1 teaspoon mild honey or sugar
2/3 cup warm milk (105–115°F), divided
2 1/2 cups all-purpose flour plus 2 Tbsp for sprinkling
1 1/4 cups grated (with a rasp) Parmigiano-Reggiano (1 1/3 oz) (I used pre-shredded parmesan from the grocery store)
1 teaspoon salt
3 large eggs
5 tablespoons unsalted butter, cut into Tbsp pieces and softened
1 tablespoon water

Stir together yeast, honey, and 1/3 cup warm milk in mixer bowl and let stand until foamy, about 5 minutes. (If mixture doesn't foam, start over with new yeast.) Whisk together flour (2 1/2 cups), cheese, and salt, then mix into yeast mixture along with remaining 1/3 cup warm milk at low speed. Increase speed to medium and beat in 2 eggs, 1 at a time, beating well after each addition, then beat, scraping down side of bowl occasionally, until a very soft dough forms, about 3 minutes. Beat in butter, 1 Tbsp at a time, until dough is elastic, about 2 minutes. (Dough will be very sticky.)


Scrape dough into center of bowl and sprinkle with remaining 2 Tbsp flour. Cover bowl with plastic wrap and a kitchen towel and let dough rise in a draft-free place at warm room temperature until doubled, 1 1/2 to 2 hours.

Punch down dough (do not knead) and turn out onto a floured surface. Cut dough into 12 equal pieces and roll each into a ball by cupping your hand and pushing dough against work surface as you roll in a circular motion. Arrange rolls 1 inch apart in a buttered 9- by 2-inch round cake pan and cover with a kitchen towel (not terry cloth). Let dough rise in a draft-free place at warm room temperature until doubled and dough fills pan, 1 to 1 1/2 hours.

Preheat oven to 375°F with rack in middle.
*
Whisk together remaining egg with water and brush on tops of rolls. (You will have leftover egg wash.) Bake until golden brown, 20 to 25 minutes. Loosen edges of rolls from pan with a sharp knife and invert rolls onto a rack, then reinvert and cool at least 20 minutes.

Rolls are best the day they're made but can be frozen (cool completely, then wrap well) 1 month. Thaw, then reheat on a baking sheet in a 350°F oven until warmed through, 5 to 10 minutes.

Monday, March 23, 2009

Apple Cheddar Scones.

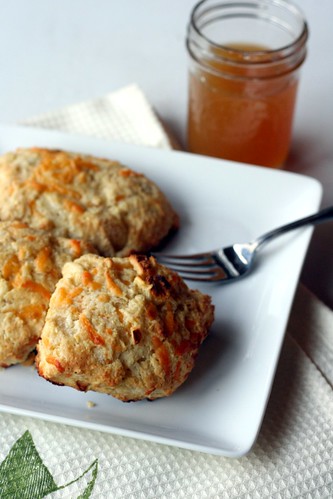
apple cheddar scones

For as long as I can remember, my mom has sworn to me that apple pie tastes amazing with a piece of cheddar cheese melted over top. After making these scones, I’m inclined to believe her.

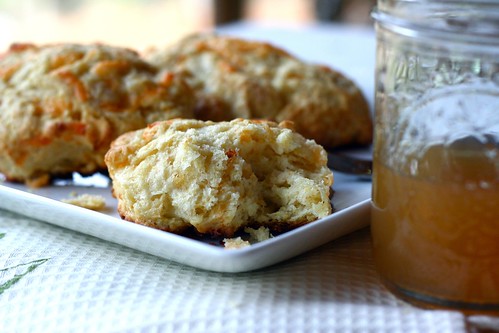
apple cheddar scones

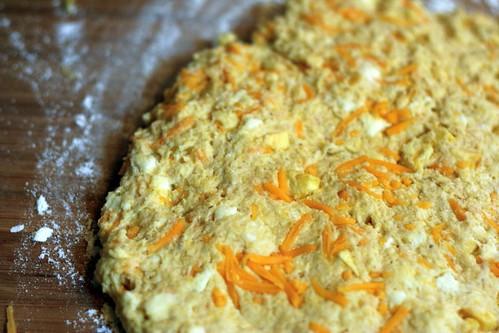
When you first bite into these, it’s like a flavor explosion. The dough is slightly sweet from the cider, and the cheese is nice and melty. There are a lot of textures going on, but it’s not overwhelming. The cornmeal gives the dough a great texture, and it’s so moist and fluffy.

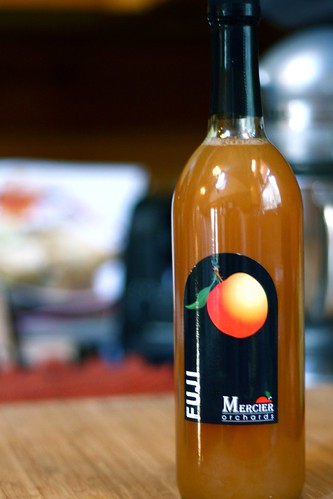
apple cider

I used this great local cider. It’s so delicious. I’m sure apple juice would be good too, but I think the cider really added something extra.

apple cheddar scones

Apple Cheddar Scones
Baking: From My Home to Yours

1 large egg
1/2 cup cold buttermilk
1/4 cup cold apple cider or unsweetened apple juice
1 3/4 cups all-purpose flour
1/3 cup yellow cornmeal, preferably stone-ground
2 tablespoons sugar
1 tablespoon baking powder
1/4 teaspoon baking soda
1/4 teaspoon salt
1 stick (8 tablespoons) cold unsalted butter, cut into small pieces
3/4 cup grated cheddar cheese
1/2 cup finely diced dried apples


Getting reading: Center a rack in the oven and preheat the oven to 400 degrees F. Line a baking sheet with parchment or a silicone mat.

Stir the egg, buttermilk and apple cider together

Whisk the flour, cornmeal, sugar, baking powder, baking soda and salt together in a large bowl. Drop in the butter and, using your fingers, toss to coat the pieces of butter with flour. Quickly, working with your fingertips or a pastry blender, cut and rub the butter into the dry ingredients until the mixture is pebbly. You’ll have pea-size pieces, pieces the size of oatmeal flakes and pieces the size of everything in between - and that’s just right.

Pour the liquid ingredients over the dry ingredients and stir with a fork just until the dough, which will be very wet and sticky, comes together. If there are still some dry ingredients in the bottom of the bowl, stir them in, but try not to overdo the mixing. Stir in the grated cheese and dried apple.

Still in the bowl, gently knead the dough by hand, or turn it with a rubber spatula 8 to 10 times. Then, because the dough is very sticky, the easiest thing to do is to turn it out onto a lightly floured work surface, pat it into a rectangle about 1/2 inch thick and, using a dough scraper or a chef’s knife, cut it into 12 roughly equal pieces; place on the baking sheet. Alternatively, you can just spoon out 12 equal mounds onto the baking sheet. (At this point, the scones can be frozen on the backing sheet, then wrapped airtight. Don’t defrost before baking - just add about 2 minutes to the baking time.)

Bake the scones for 20 to 22 minutes, or until their tops are golden and firmish. Transfer them to a rack and cool for 10 minutes before serving, or wait for the scones to cool to room temperature.

some notes: These were done in about 15 minutes for me, and were quite overdone on the bottom, I might try using an insulated cookie sheet next time.