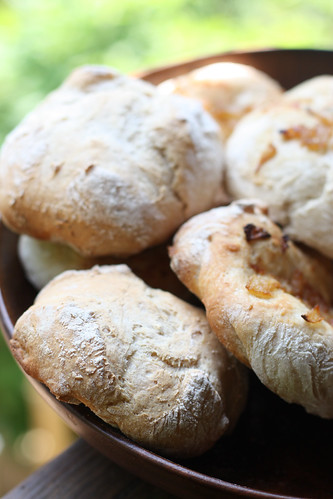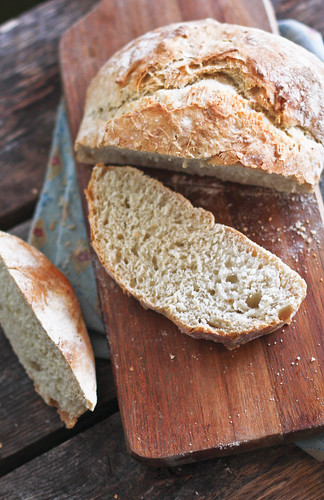
Let me start by saying a couple of things: 1. Crusty, chewy bread is one of my very favorite things in the world. 2. this bread is quite possibly the best thing I’ve ever baked. 3. it’s also one of the easy things I’ve ever made.
I’m a bread lover, it’s true. I love a good, crusty french loaf probably more than the next person. I believe that it’s one of our greatest triumphs as humans, creating crusty bread. But I’d never, ever tried to make it at home.
It was just so
daunting. I’ve looked at a thousand recipes for it, most of them calling for no fewer than 3 rises, lots of kneading, some voodoo and a bread dance. It just seemed so complicated! But when I stumbled upon this recipe last night, I knew I had to make it.
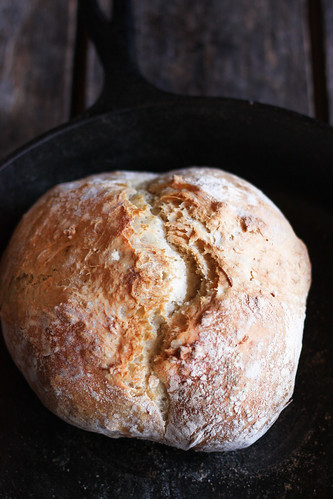
It’s from the book Artisan Bread in Five Minutes a day, which I don’t own, but I’m now seriously considering purchasing it. This is
so easy, and requires only 4 ingredients.
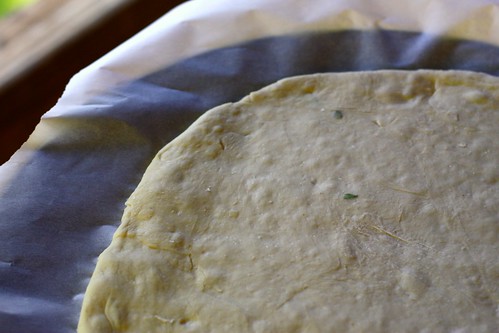
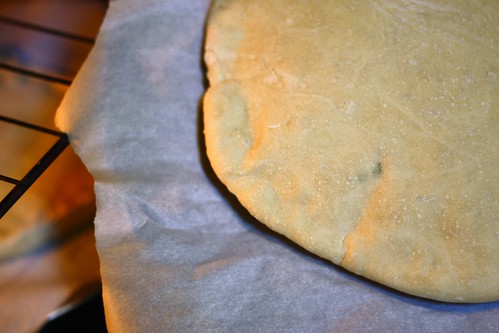
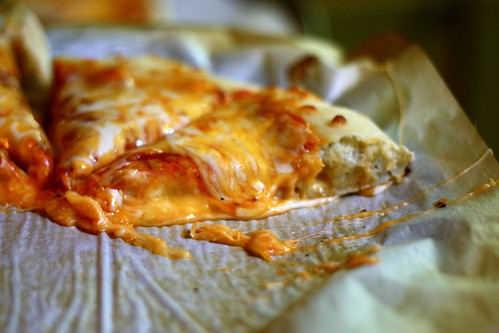
My brother exclaimed “This tastes just like Panera’s bread!” which is a high compliment coming from him, as he can eat a whole long loaf by himself. Get yourself in the kitchen and make this right now. It’s that good. It'd be perfect for sandwiches, bread bowls for soup, or even pizza crust.
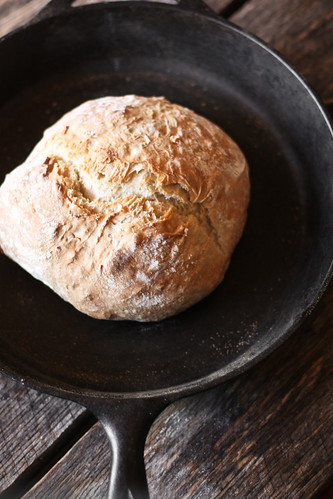
Recipe notes: It might seem difficult to incorporate all of the flour into the yeast mixture, but just keep mixing. You can add just a little bit of water at a time to help, if needed. The recipe calls for a pizza stone, but I don’t have one, so I just used a cast iron skillet instead. Also, my second rise took a bit longer than the 40 minutes suggested, probably about an hour and 15 minutes to get to the size I wanted.
No Knead French Bread
From Artisian Bread in 5 Minutes a Day via The Ivory Hut
3 cups of lukewarm water
1 1/2 tablespoons active dry yeast
1 1/2 tablespoons coarse salt
6 1/2 cups all-purpose flour
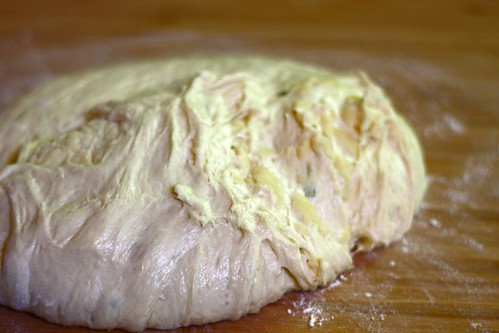
Grab a very large mixing bowl, or a large container that you can cover. In it, mix the water, yeast, and salt. You don’t have to heat up the water to a precise optimal temperature for the yeast. I’ve even used just regular tap water, and it’s worked well for me. Just let that sit together for a while (you don’t have to wait for the yeast to dissolve completely), then dump the flour all at once and stir with a wooden spoon. You don’t need to knead this, and you’re not looking to make it come together into a dough ball. You just want everything mixed well, with no streaks of flour left, and you’re done.
Leave it in your container, covered (but not airtight, or it’ll pop), for a few hours. When it has risen and then deflated a bit, your dough is done. It’s ready to be used or stored in the refrigerator.
To bake the bread, just grab a chunk of dough, about the size of a grapefruit. Dust your hands with flour to help prevent sticking, and gently pull the sides of the dough toward the bottom, rotating the dough, until you get a roundish shape with a smooth surface. It should only take you about a minute or less to do this. The dough won’t be entirely in the bottom, where it may look bunched up, but don’t worry about it.
Put it on a cutting board that’s been dusted with cornmeal to prevent sticking, and let it rest for at least 40 minutes. No need to cover it. If the dough has been refrigerated, it helps to let it rest a little more, until it’s no longer chilled.
Twenty minutes before you are ready to bake, put a cast iron skillet (or a pizza stone) in the middle rack of your oven, and put a broiler pan (I used a cookie sheet) in the bottom rack. Preheat your oven to 450 degrees. Dust some flour on the top of your loaf, and slash the top, about 1/4-inch deep.
After twenty minutes of preheating, it’s time to bake. (You can put the bread in after 20 minutes, even if your oven hasn’t reached 450 degrees yet.) Slide the loaf onto the baking stone, and then quickly pour 1 cup of hot tap water into the broiler pan. Then quickly shut the oven door to keep the steam inside.
Bake for 30 to 40 minutes, until you get a nice brown crust. Remove and let cool completely, if you can wait that long.